
Access the Moodle site of the MoodleBox
To access to the Moodle installation of the MoodleBox, you must be connected to its Wi-Fi network. On your device, choose MoodleBox wireless network. When prompted type the password: moodlebox (all lowercase) and confirm your connection.
You may now log into Moodle in your browser. Open your browser and type http://moodlebox.home/ in the address bar. The home page of Moodle opens. Click on Log in and type the following credentials:
- username: moodlebox
- password: Moodlebox4$
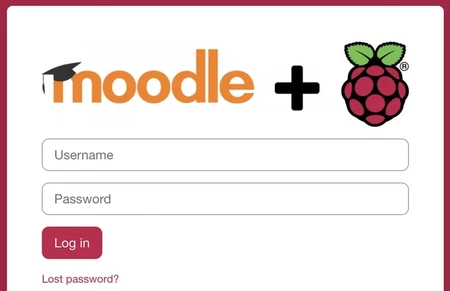
Moodle Login
Connect the Moodlebox to the Internet
It is very easy to provide an internet connection to users connected wirelessly to a MoodleBox.
Simply connect the MoodleBox with an Ethernet cable to a network that has Internet access. As soon as the connection is available, the devices connected via Wi-Fi to the MoodleBox have Internet access themselves.
If however, you want to use the MoodleBox without an Internet connection, for example for activities such as an escape game or assessments where student access to the Internet is not desired, simply disconnect the Ethernet cable from the MoodleBox. Without an Ethernet cable connection, devices connected via Wi-Fi can only access the resources available on the MoodleBox.
Connect to the MoodleBox via Wi-Fi
On your device, choose MoodleBox wireless network. When prompted type the password: moodlebox (all lowercase) and confirm your connection.
You’re now connected on the Wi-Fi network, and you can access to the Moodle environment via your browser, using the following address: http://moodlebox.home/. The home page of your Moodle will now display.
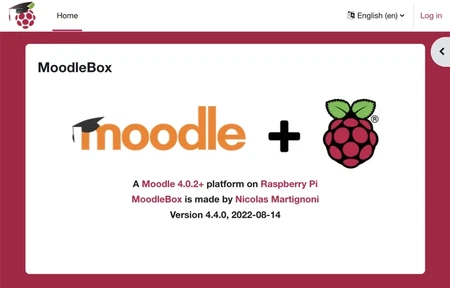
Moodle home page
Copy the disk image to a SD card
To copy the MoodleBox system on your microSD card, use the Raspberry Pi Imager utility. This application is published by the Raspberry Pi Foundation.
How to proceed
- Download the latest version of the Raspberry Pi Imager utility and install it on your computer.
- Launch the Raspberry Pi Imager application.
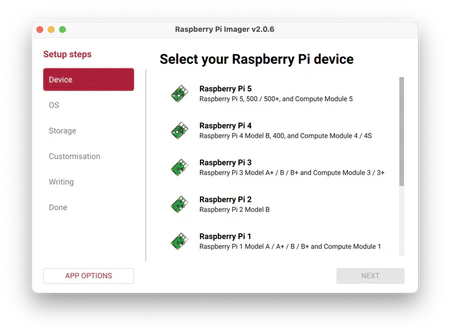
- Select your model of Raspberry Pi, then click Next to the OS tab, scroll down and click Other specific-purpose OS.
- Scroll down, click MoodleBox, choose the latest MoodleBox disk image version.
- Click Next to the Storage tab and select your microSD card.
- Click Next to the Customisation tab and specify the settings you want for your MoodleBox in the following windows. Indicate, if needed
- the hostname, e.g. moodlebox,
- the localisation settings (city, time zone and keyboard layout),
- a username and a password, e.g. moodlebox and Moodlebox4$,
- optionnaly, the SSID and password of your local wireless network,
- enable SSH and tick the radio button Use password authentication.
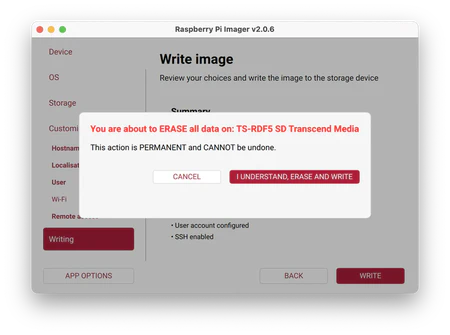
- Click Next to the tab Writing, click the Write button, and when asked if you want to continue, erasing all data on your SD card, click on I understand, erase and write.
Hardware requirements
Here is the stuff you will need to build your MoodleBox:
- Any Raspberry Pi 4 Model B, 3 Model B+, 3 Model B, 3 Model A+, Zero 2 W, 400 or 5,
- A high quality power supply,
- A microSD card of sufficient size; we recommend a capacity of 32 GB or more, even if MoodleBox can work with a smaller card size,
- A Raspberry Pi case (not essential, but very useful to protect the Raspberry Pi).
The total hardware amount is approximately USD 90, 80€ or CHF 90.